Table of Contents
Today, with the growth of technology, the number of people choosing online payment methods when making purchases on the WooCommerce website is growing by the day. Concurrently, during the two years of the Covid-19 infection, people avoided face-to-face contact, which also pushed the use of credit cards or Paypal to be more popular.
Furthermore, sellers always want all website processes to be as smooth, fast, and convenient for buyers. As a result, the seller optimizes payments on iOS and macOS platforms as soon as possible.
Read on for more information about WooCommerce Apple Pay and the steps to install it.
What exactly is Apple Pay?
There are numerous payment gateways available today that you can use and should consider. Using Apple Pay to pay on the website, in particular, is a popular option. The vast majority of Apple product users are probably accustomed to paying with Apple Pay.
Apple Pay is an instant payment option that makes it simple to purchase products both in-person and online. It integrates easily with most e-commerce platforms, such as WooCommerce, and helps you create a better customer experience on your website.
How to set up Apple Pay WooCommerce?
Install 1 of the following 3 extensions: WooCommerce Payments, Stripe, or Square to set up Apple Pay.
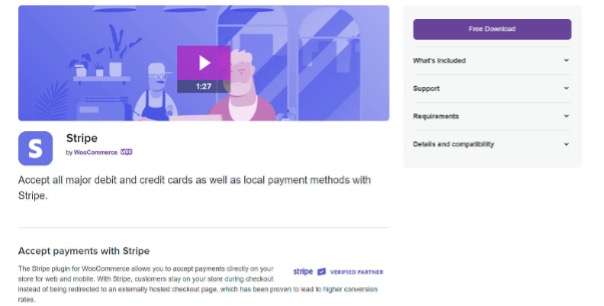
Stripe
- Stripe may be used to accept payments on your WooCommerce store.
- Available in a variety of countries.

Stripe
How to set up it with Stripe.
Step 1: Install and activate the WooCommerce Stripe plugin
Step 2: Log in to your Dashboard. Then choose WooCommerce > Settings.
Step 3: In the Payments tab, scroll down to the Stripe Credit Cards option and then turn it on.
Click the Manage button, it navigates you to the API Settings.
Step 4: In the API Settings, choose the Click to Connect button.
Step 5: Now you had to log in to your Stripe account. Choose the account that you want to connect to. Then
press the Connect button.
Step 6: Scroll down on the Payments tab to choose the Save Changes button.
After those steps you’ve linked stripe to your WooCommerce website, you had to turn on a Woocommerce Apple Pay button -the most necessary step.
Step 7: Back to the Payments tab, you choose the Apple Pay section. In this step, Apple Pay
requires Stripe to verify that you own this domain.
As a result, it requests that you upload a verification document to a portion of your hosted website’s files. Select the Register Domain option from the Apple Pay section.
After that, you should get a notice stating that the Domain was successfully registered.
Step 8: Following the link that you received from the notice, you go to the Stripes dashboard
and choose Settings > Payment Methods > Apple Pay.
You can see your domain name under the Web domains list.
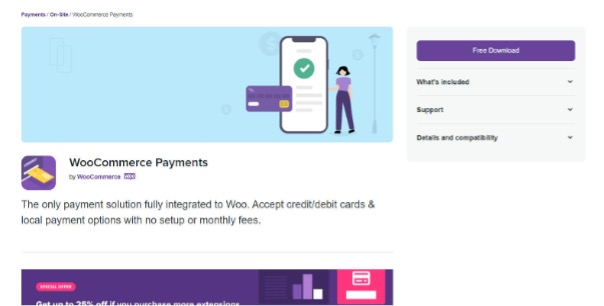
WooCommerce Payments
- Designed especially for WooCommerce stores.
- View payments, manage cash flow into your bank accounts, and it also manages disputes all from the convenience of your store.
- Only available in the United States.

WooCommerce Payment
How to set up Apple Pay with WooCommerce Payments?
Step 1: Download and activate the WooCommerce Payments plugin.
Step 2: Follow the steps to set up.
Step 3: Go to WooCommerce Payments dashboard, choose Payments > Settings then click
enable Payment Request.
Step 4: Press Save changes.
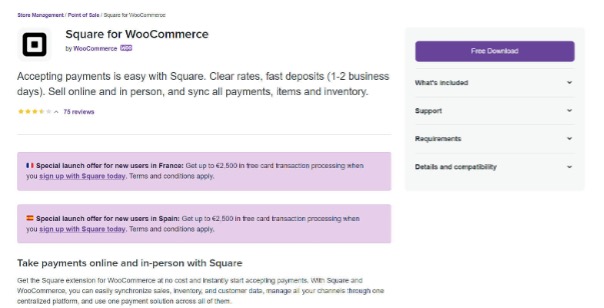
Square
- Available in the U.K., U.S., and Canada.

Square
How to set up Apple Pay with Square?
Step 1: Download and activate the Square plugin.
Step 2: Log in to your Square account.
Step 3: In the WooCommerce dashboard choose Settings > Payments > Square and tick to the
Digital Wallets to enable it.
Step 4: Choose Status > Logs. After that check your domain and Square log.
Requirement
The process of adding Apple Pay to your store depends on the payment provider you used. In any case, payment has a few rules that you must follow:
- Your entire site must be served over HTTPS with a valid SSL certificate.
- Your server must support TLS 1.2 or higher.
- The domain must be verified with Apple using a file hosted on your website.
How does Apple Pay work?

How does Apple Pay work?
When you make an online purchase with Apple Pay, the shipping/billing address associated with the credit or debit card on file and the user’s name and the purchase confirmed via Touch ID are automatically entered.
All of the above payments are made using an end-to-end secure NFC method, which means no one can obtain your personal information or card number.
It can be said that Apple has been very clever in combining many security factors at the same time to make a transaction, if you accidentally lose your phone, you can use Find My Phone to lock it, or if there is one. If you get it, you also need a Touch ID to be able to pay successfully.
Why is Apple Pay better than your standard credit card?
Quick checkout – Customers can pay (purchase) an item in a single step. Skip the “Add to Cart” steps before checking out to save time.
Higher purchase – Apple Pay WooCommerce encourages engagement since satisfied customers are more likely to return.
Customers’ privacy – Accepting Apple Pay is also more secure than accepting credit, debit, or prepaid cards. Face ID, Touch ID, or passcode are required for every transaction on a customer’s iPhone or iPad.
-Furthermore, because you do not obtain the consumer’s real credit or debit card number, you will not process sensitive data in your systems when a customer uses Apple Pay.
Final thoughts
We hope you enjoyed this post about how to use Apple Pay for checkout optimization. WooCommerce Apple Pay has brought convenience to both buyers and sellers.
Buyers can save time by checking out in a single easy step.
From here, sellers may enhance interactions and secure consumer information. And they are always looking for ways to improve their websites and increase the number of transactions per visitor.
We hope you can utilize Apple Pay for checkout optimization techniques to improve your website and increase your business.
If you like these articles, follow us and wait for our next.


