Table of Contents
If you intend to start a print-on-demand business that sells designed shirts for customers, you may notice that a creative and good-quality product is the key to your success.
These features are based on the ideas you have for your products and the print on demand shirt printing service you choose. However, sometimes you put the designs onto the shirts on the computer screen, but after that, they may be completely different after printing.
Therefore, now we will give you some valuable tips to help you get the best print on demand shirt printing.
1. Choose a right print on demand shirt printing method
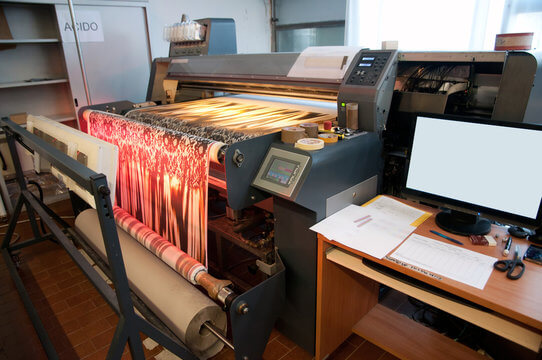
Most POD providers supply customers with multiple printing methods.
Nowadays, most POD providers supply customers with multiple printing methods for them to pick. For example, one of the most common POD companies – Printful – has four printing techniques:
-
Screening
It is only appropriate for simple graphics with few details and not cost-effective for bulk production.
-
Direct to garment (DTG)
It will satisfy businesses that want to experiment with different colors and designs without being limited by color restrictions. Besides, intricate patterns and photorealistic images can also be used with this method.
However, when using DTG, transparencies should be avoided.
-
Embroidery
It yields long-term results and is effective for large design patterns, but not for complicated ones. Besides, this technique works best on print-on-demand polo T-shirts.
-
Sublimation
It will be an ideal option for complex design patterns on your print on demand shirt. However, you should apply this method to clothes that have white or light colors.
To gain a deeper understanding of these four methods such as how they work and what their pros and cons are to make a smart choice, you can find and read our blog 4 Popular Printful Custom Printing Methods For Your Design.
2. Decide your design’s color mode
Needless to say, you need to have an attractive design first before getting your print on demand shirt printed. And, understanding the color mode of the designs is completely important for this stage.
There are two most well-known color modes that most users may be familiar with: RGB and CMYK. You need to differentiate between them as it directly affects your print on demand shirt printing results.
However, don’t worry as most design software now allows you to convert between color profiles, or some printing companies can also convert for you. Still, doing it yourself will give you more control over the outcome.
Now, let’s examine each of them!
RGB
The RGB color model is an additive color model in which the primary colors of light, red, green, and blue, are added together in various ways to reproduce a wide range of colors. The model’s name is derived from the first letters of the three additive primary colors, red, green, and blue.
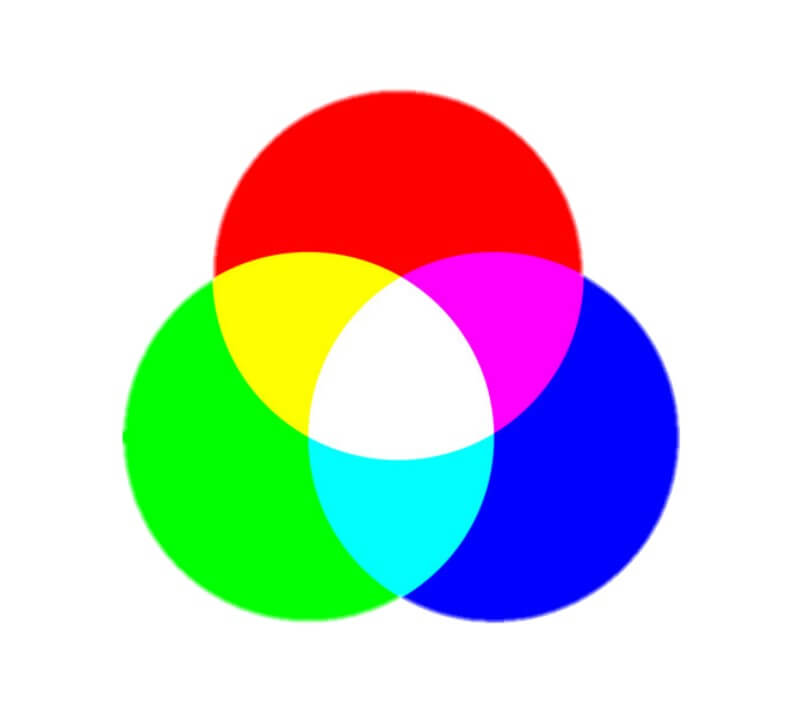
The RGB color model is additive.
If your design will be displayed on any type of screen, you can use the RGB color mode.
That’s because you can modify any of the three source colors to control aspects such as saturation, vibrancy, and shading. As it is done digitally, you can also manipulate how the light on the screen manifests in order to achieve the desired color.
CMYK
The CMYK color model (also known as process color or four color) is a subtractive color model used in color printing that is based on the CMY color model. The four ink plates used in some color printing are referred to as CMYK: cyan, magenta, yellow, and key (black).
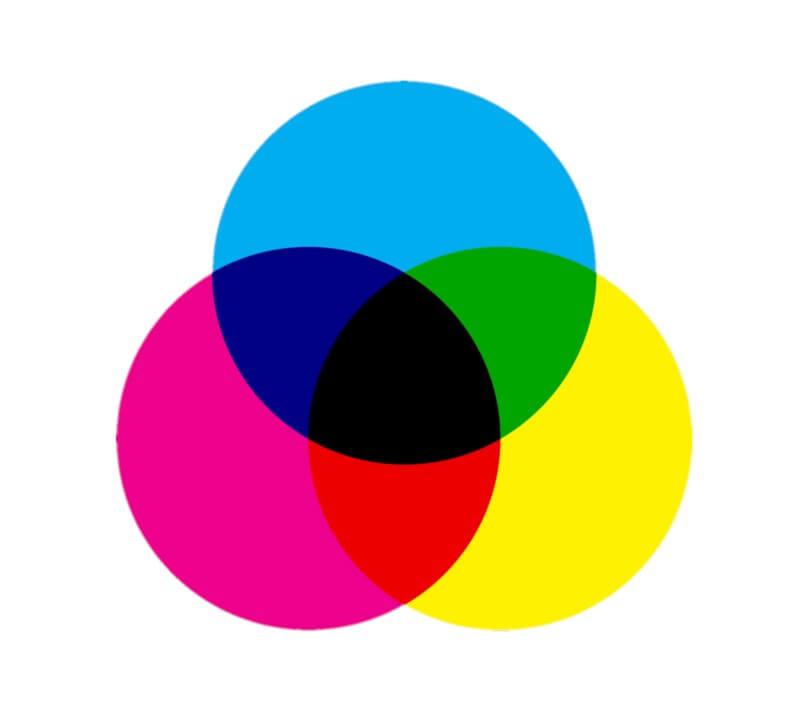
The CMYK color model is subtractive.
In this process, images will be created by combining CMYK colors to varying degrees with physical ink in a printing machine.
As mentioned earlier, you can use this color mode for physical printing, not on a screen, and CMYK will give you an accurate printing result.
3. Choose a suitable garment color to print
Though printing designs on white T-shirts is easier, offering different color garments will give your customers more options.
Still, the difficulty is that bright colors may appear faded on darker backgrounds when printing designs on colored shirts.
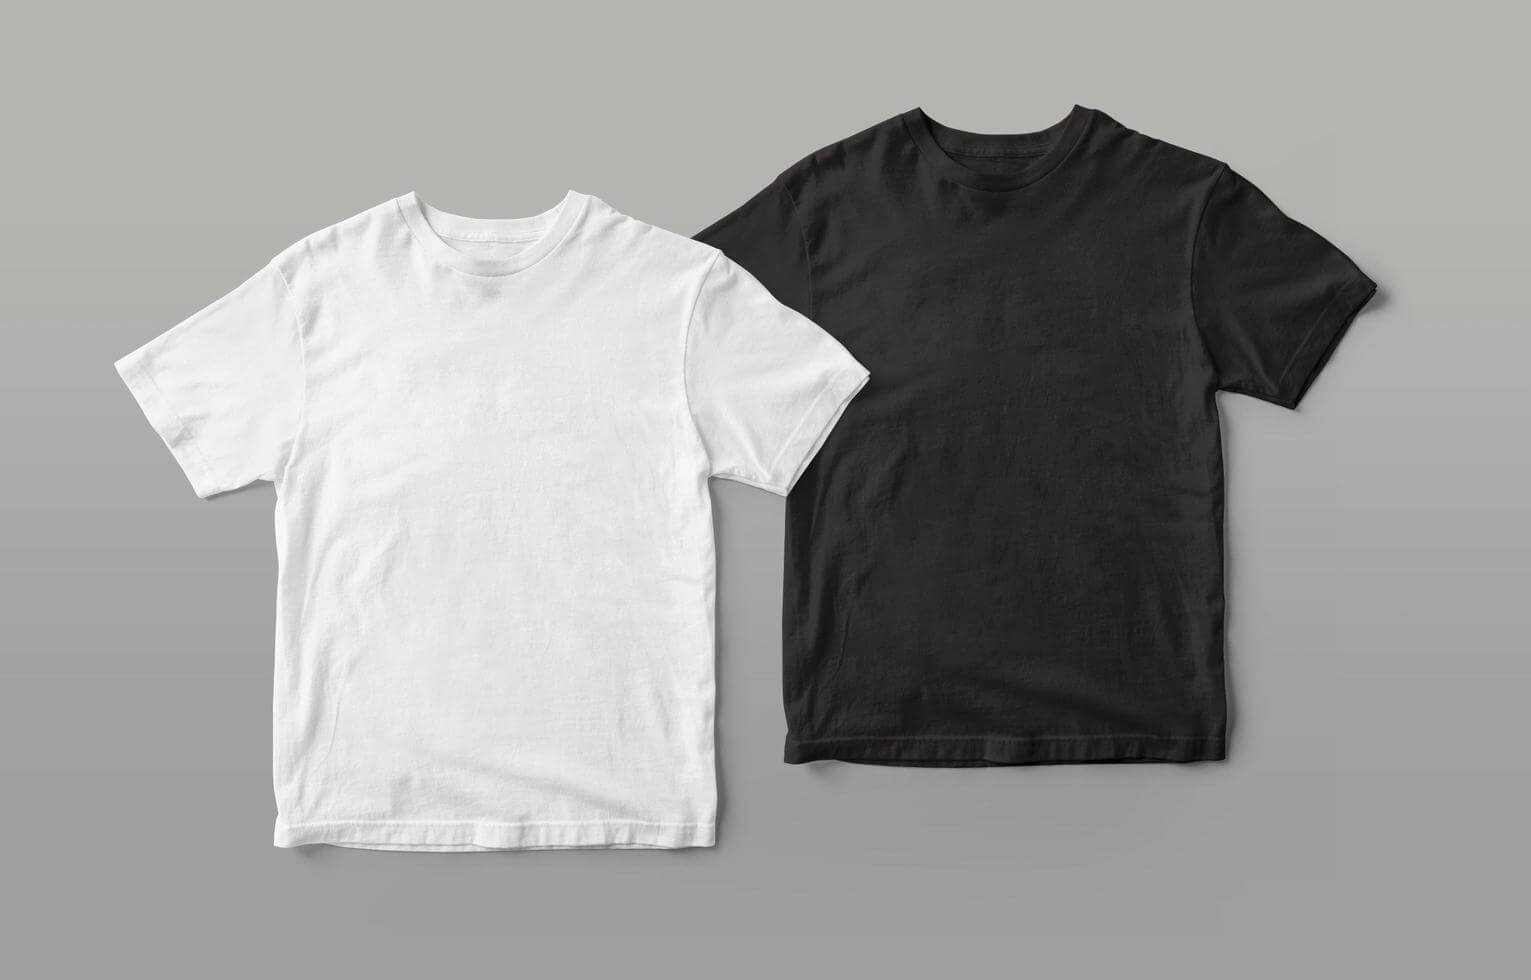
Designs are printed on multi-colored T-shirts.
In addition, they may appear tinted afterward if you use white ink elements on brightly colored shirts. This is especially noticeable on maroon, red, and other similar-colored shirts.
Furthermore, using the same design color as the garment – for instance, creating a blue design on a blue shirt should also be avoided.
Thus, the suggestion is you can make your design stand out by using contrasting colors. This will keep your design from getting lost in the background.
4. Put the print on demand shirt design in the printable area

The print on demand shirt design is placed in the printable area.
When designing your print on demand shirt, you should keep in mind that the dimensions of the designs are particularly vital as it affects how your final products look like.
Besides, you should ask your print-on-demand supplier about their acceptable printing area and consider how you can take advantage of this range.
Design size
Each product may have a different limitation on the area that you can put on your design. For example, with print on demand shirt printing, several sizes are offered ranging from small, medium, large, X-large, 2X-large, and more.
In general, the suggested design width for print on demand shirt printing is usually 9.5-10.5 inches at the minimum(small) and 13.5-14.5 inches at the maximum (4X-large).
Position
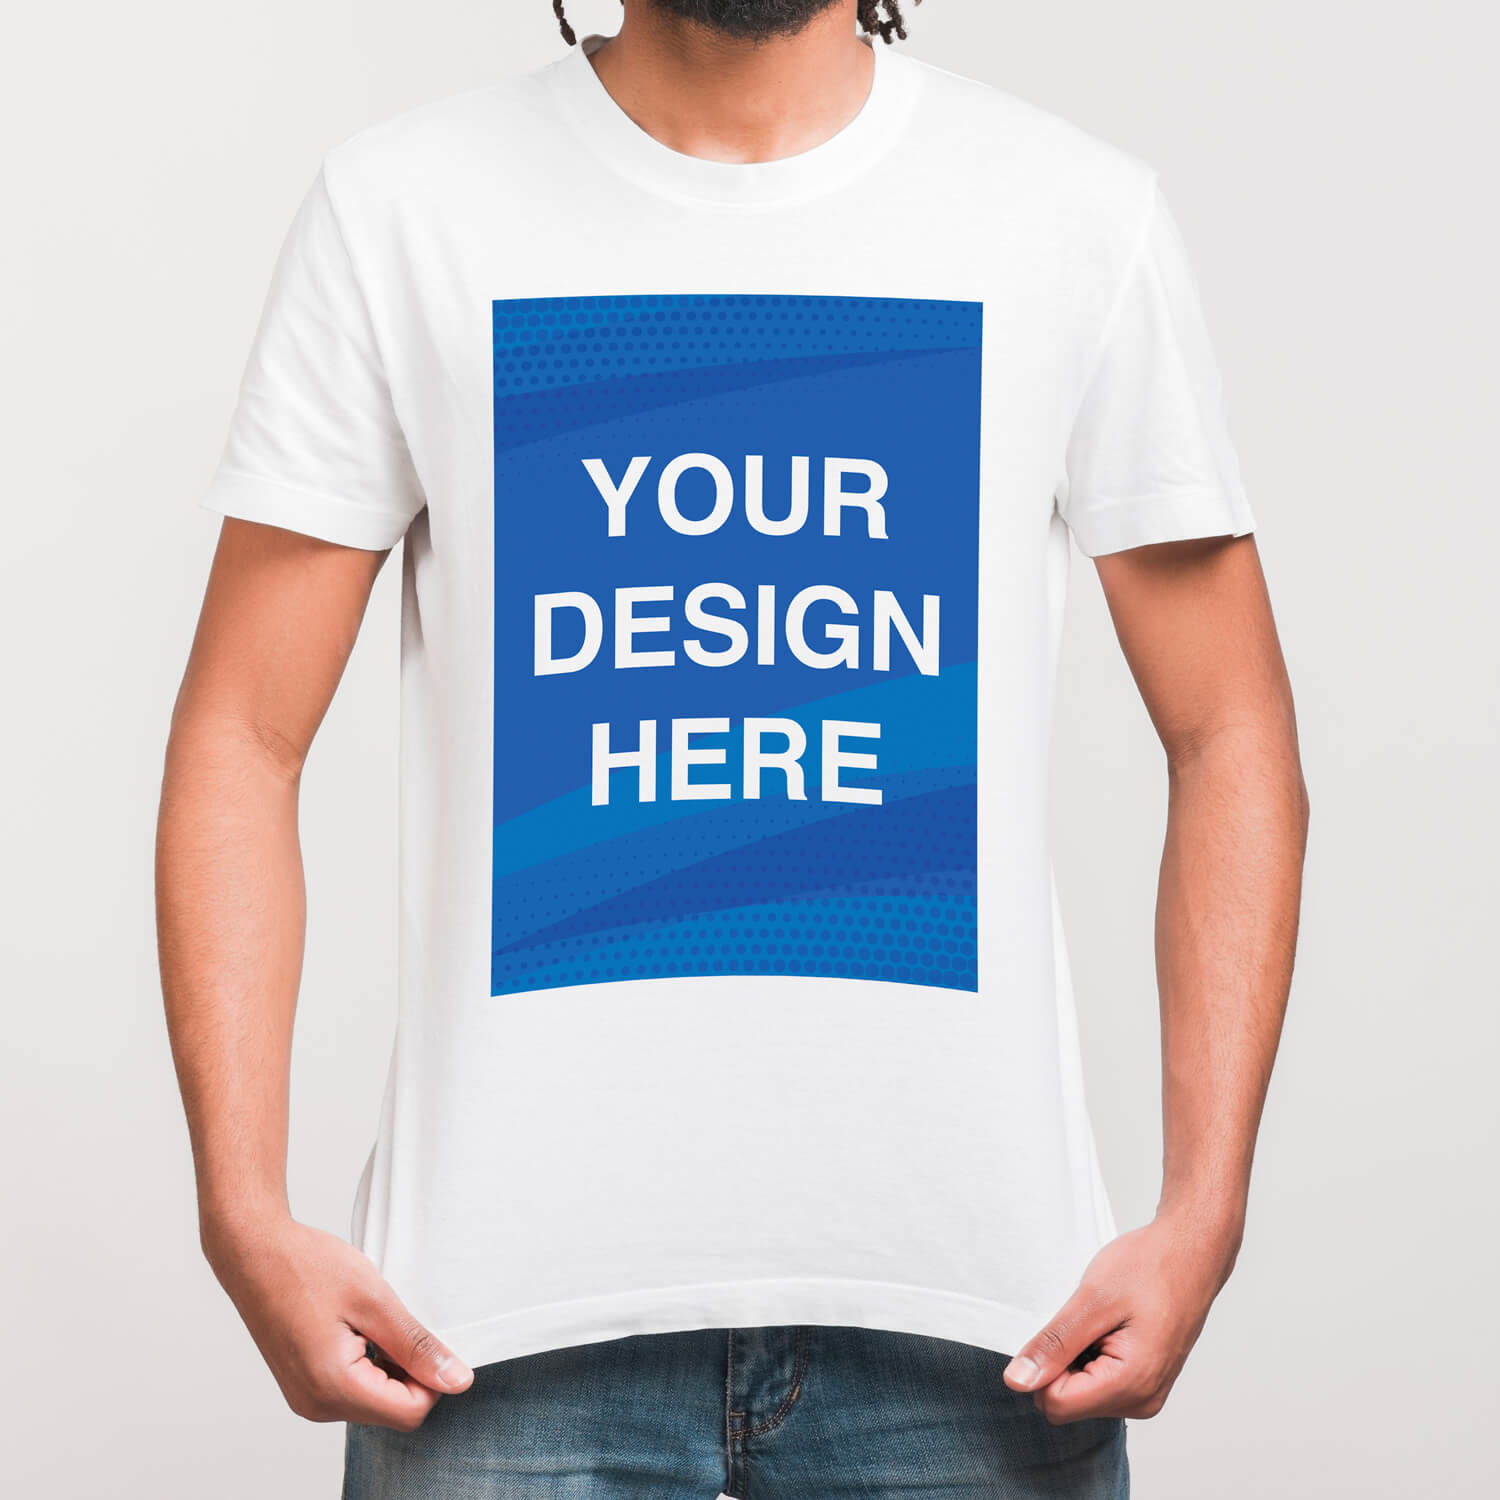
There are several common placement locations on a print on demand shirt.
There are several common placement locations on a print on demand shirt, which are as follows:
- Left chest: for formal and corporate settings.
- Front chest: for both casual and business settings.
- Full front: for more casual designs, usually for personal expression.
- Back collar: solely for marketing purposes.
- Upper back: for both casual and corporate settings.
- Vertical left or right: for team wear and branding.
- Full back: for casual wear.
- Sleeve: for branding purposes.
Although these are standard placements, they do not have to be followed exactly. You can change the placements to better suit your personal designs and requirements.
5. Create a design with a suitable level of DPI (Dots per inch)
DPI is used to measure the resolution of a printed document or a digital scan.
In terms of print on demand shirt printing, it’s recommended that the resolution of all images and art files for printing should be 300 IDP to get the best output.
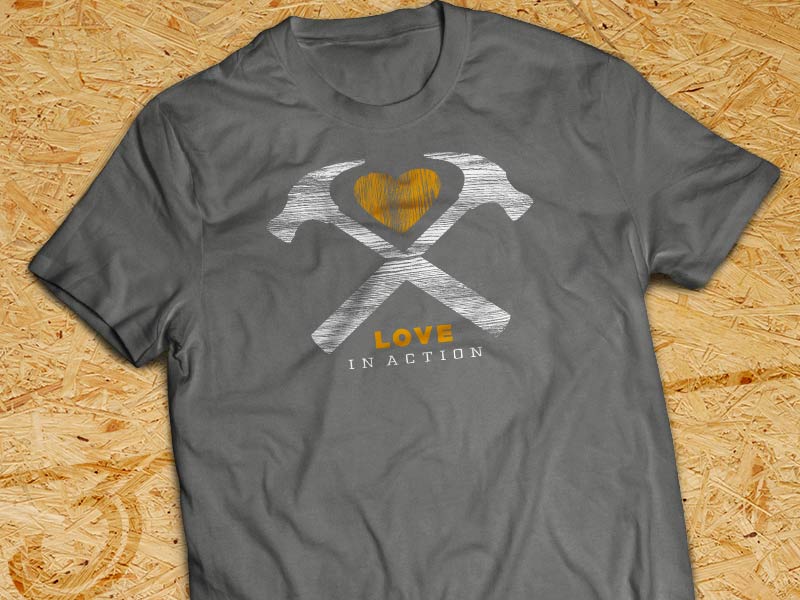
The level of DPI directly affects the quality of your designs.
However, if you increase the size of your image, you’ll make your design blurrier. Similarly, stretching to fit a square design into a rectangular printable area will result in distortion. Instead, you should consider recreating your design if the resolution is too low.
6. Use transparency
Transparency in images helps you avoid clunky or boxy backgrounds. As a photo that is simply sitting on a T-shirt with plain edges can appear uninteresting, you should consider a floating design.
Thus, you should save your design as a portable network graphic (PNG) file. Transparent areas in PNG files typically display a checkered pattern.
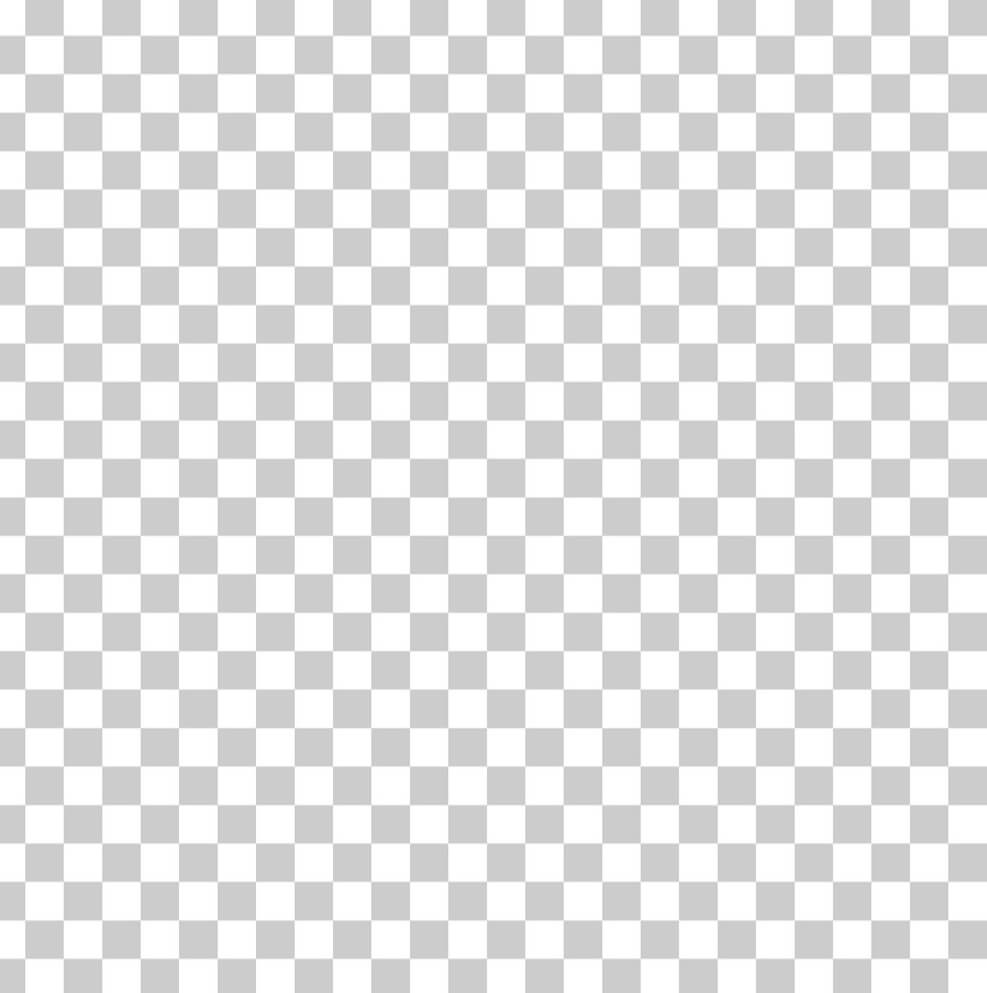
Transparency displays a checkered pattern.
If you’re printing on a white shirt, you should remove the white background and replace it with a transparent one. Otherwise, you risk getting a large white square on your shirt.
Furthermore, black ink usually appears gray on black shirts because the white under base is used during printing. Therefore, you also keep these areas completely transparent before printing.
7. Create a Mockup
Before starting your print on demand shirt work, generating a mockup is essential. That’s because your design will look more different on a flat surface than on a shirt worn by a real person. Therefore, mockups allow you and your customers to see how a design would appear on a real product.
Moreover, mockups can entice customers to buy, so choose high-quality ones for your store.
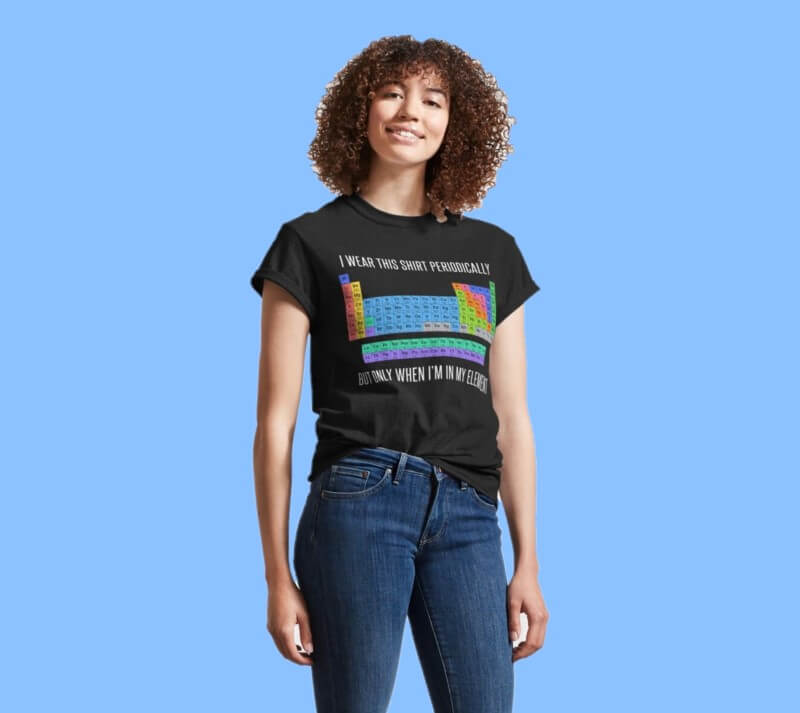
Generating a mockup is essential.
The good news is that most print-on-demand websites provide mock-up generators that you can use for your store. Or, you can create your assets using specialized mock-up software such as PlaceIt. PlaceIt has a larger selection of models and environments and can help you create eye-catching mockups.
Final thoughts
There are some rules for print on demand shirt design and printing such as where you put your designs on the products and how to make them harmonize with the background color. Therefore, you should follow them as they will help you get a more eye-catching printing shirt and attract more customers’ purchases.
Now after jotting down these tips, you can be ready to get starting to design your custom shirts and sell them to the customers.
Best Print on Demand Companies for 2022 will list for you some top-rated and trustworthy POD services you can work with.


