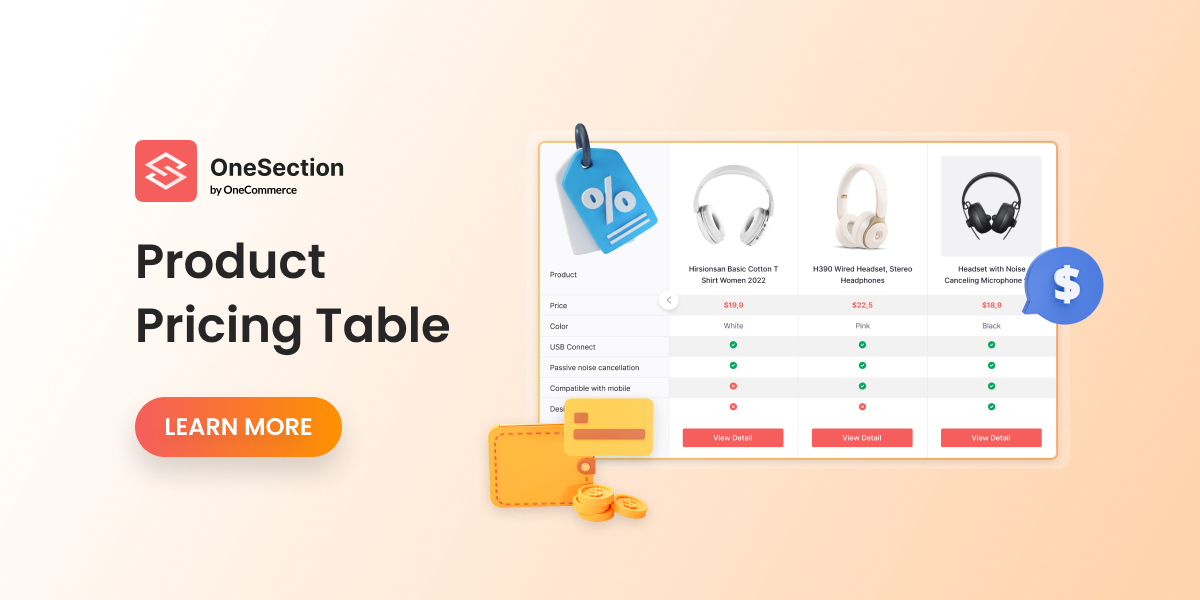
What is a Product Pricing Table?
As its name suggests, a product pricing table or product compare table explains similar products’ features individually, citing their benefits and relevance to a specific online shopper.
A sufficient product comparison table empowers your customers to make a more intuitive comparison, thereby helping them make more educated buying decisions.
With OneSection, adding a product comparison table section on your Homepage or Product Detail Page has never been easier!
Product Pricing Table Created with OneSection
It’s important that your Product Pricing Table blends in with your brand theme. That’s why we offer a wide range of versatile pre-made templates as below:
-
Pricing Grid
-
Pricing Columns
-
Comparison Table
How to add a product pricing table using OneSection?
To showcase responsive product pricing tables by OneSection, you can either add it within your Shopify theme editor or right in the OneSection app.
-
Add a product pricing table from Shopify editor
Step 1: Log in to your Shopify store > Navigate to ‘Online Store’
Step 2: At your Current theme section > Click ‘Customize’
Step 3: Select the page you want to add a testimonial slider
Step 4: Scroll down, choose ‘Add section’ > Navigate to ‘Product Pricing Table’ by OneSection
Step 5: Name your pricing table > Choose your preferred template > Customize heading text
Step 6: Click on ‘Select products’ > Pick the items you want to feature > Hit ‘Select’.
Step 7: After adding products, you can customize the looks and feels of your product pricing table if you want to
Step 8: If you want to do further customizations with the detailed content for each product, drag and drop your product pricing table to the desired position > click ‘Save’ and scroll down > click on ‘Manage app’
You’ll then be directed to One Section’s in-app to customize your product pricing table’s content.
After you’ve edited your product pricing table’s content, hit ‘Create’ and you’re all set!
-
Add a product pricing table in OneSection’s app
Step 1: Log in to your OneSection account > Click on ‘Section Template’ > Navigate to ‘Product pricing table’ and click ‘Create section’
Step 2: Name your section, decide on the page and position you’d like to place your section
Step 3: Pick your preferred template
Step 4: Then select ‘Config’ > Select ‘Add products’ > Pick the items you want to display on your product pricing table and select ‘Add’.
Step 5: To edit content for each product, click on the kebab icon > Select ‘Edit’
Step 6: Edit the content as much as you want > then hit ‘Save’ and you’re all done!
