Table of Contents
What is a ‘Shipping info’ section?
By adding a shipping info section on your product pages, you can improve your customer’s buying experience as they’ll know how much and how long it takes for an order to be brought to their doorstep.
“53% of respondents said they wouldn’t purchase from a retailer if they don’t know when their package will be shipped.”
Fortunately, with Section Builder, we offer you several templates so that you could add absolutely informative & stunning shipping information sections on your product pages.
Shipping info section created with OneSection
It’s important that your shipping info section blends in with your brand theme. That’s why we offer a wide range of versatile pre-made shipping info templates.
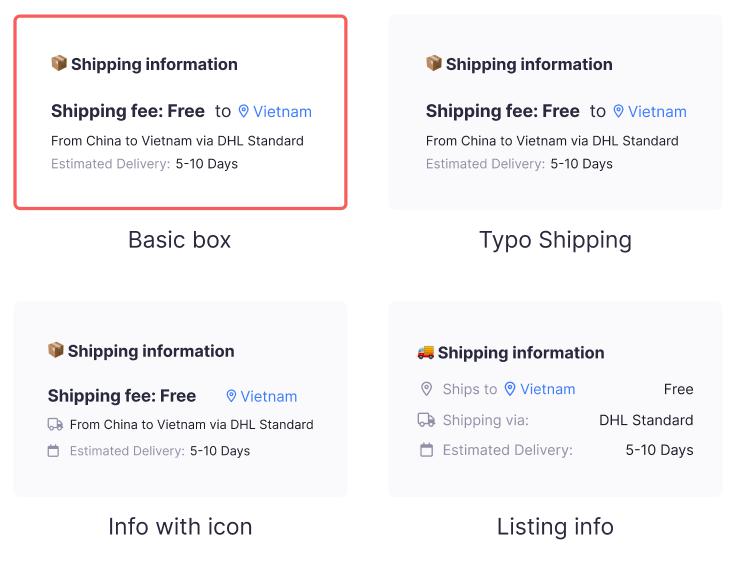
How to add the Shipping info section using OneSection?
To showcase responsive Instagram feed by OneSection, you can either add it within your Shopify theme editor or right in the Section Builder app.
Add Instagram feed from Shopify editor
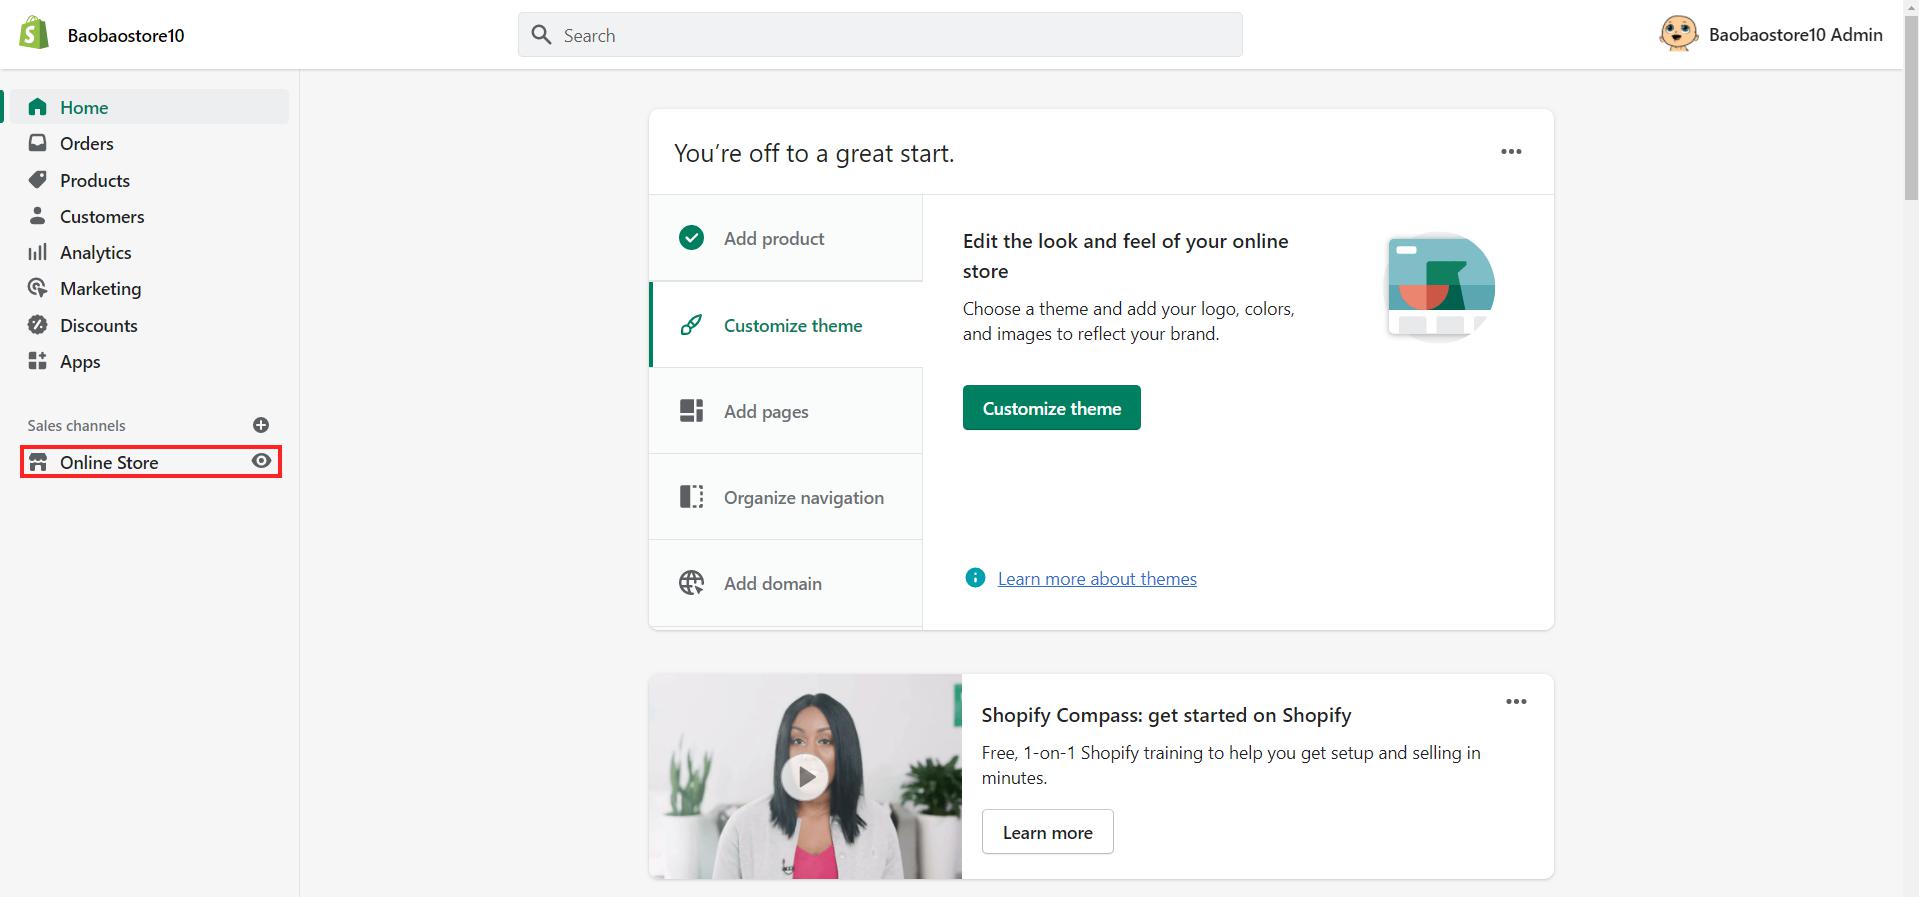
Step 1: Log in to your Shopify store > Navigate to ‘Online Store’
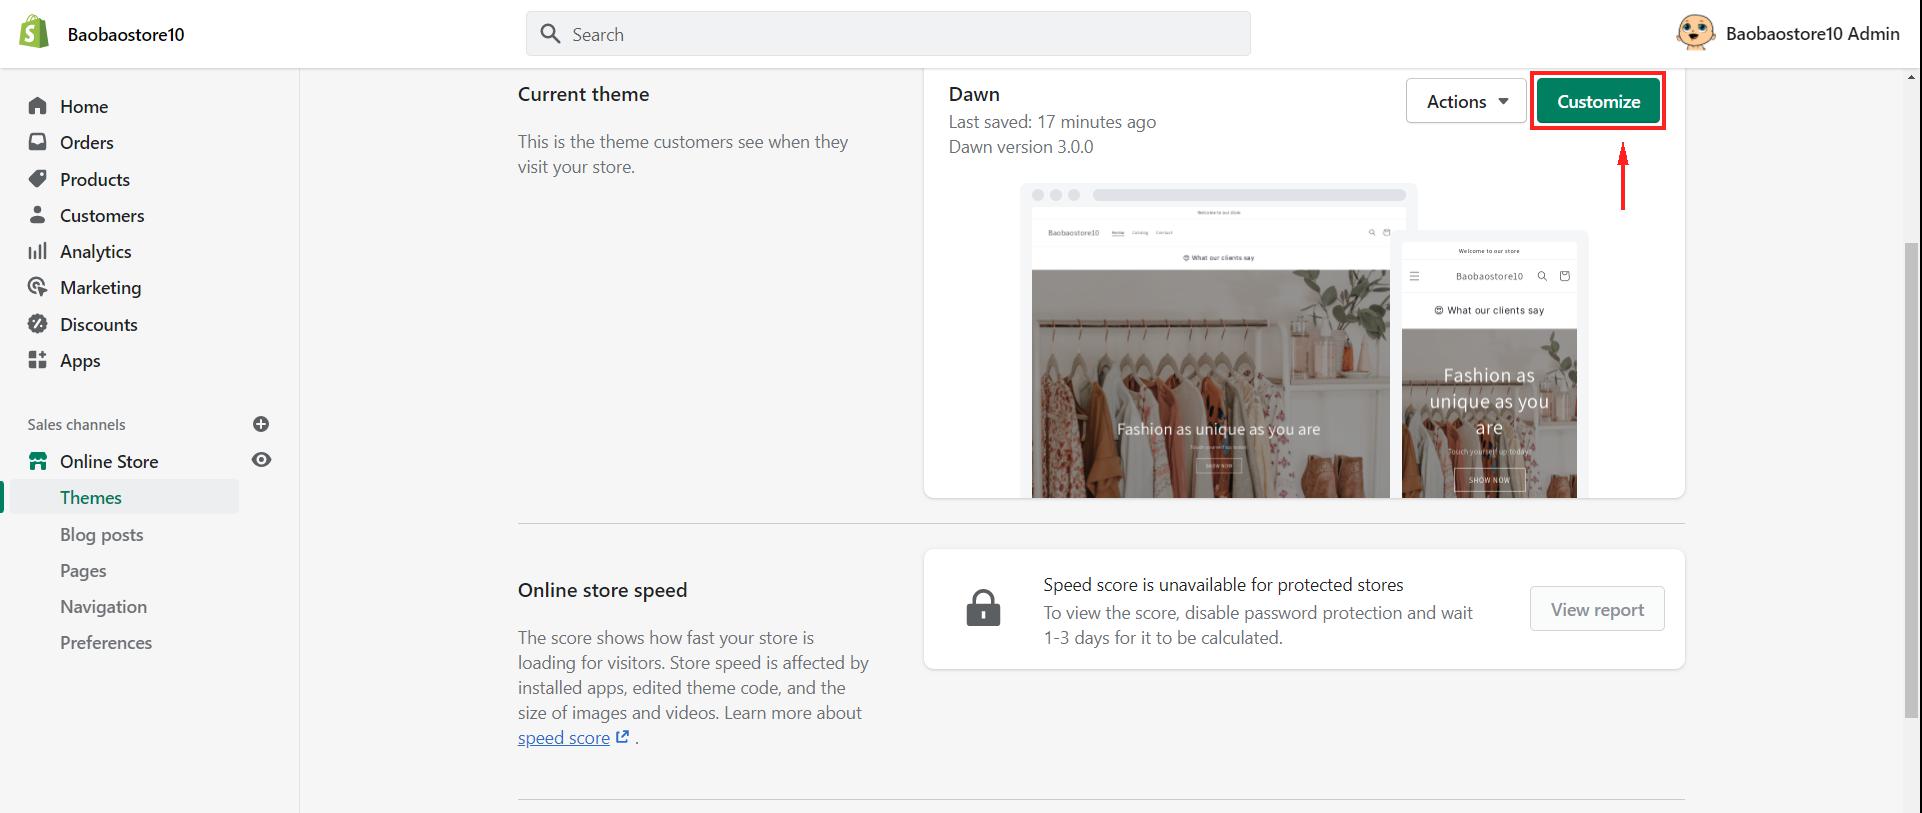
Step 2: At your Current theme section > Click ‘Customize’
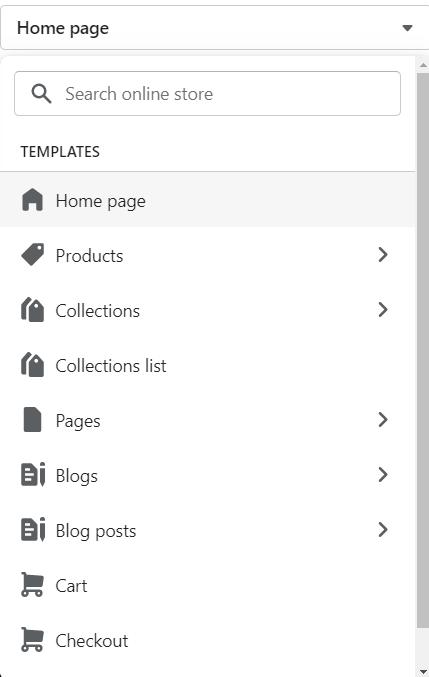
Step 3: Select the page you want to add the shipping info
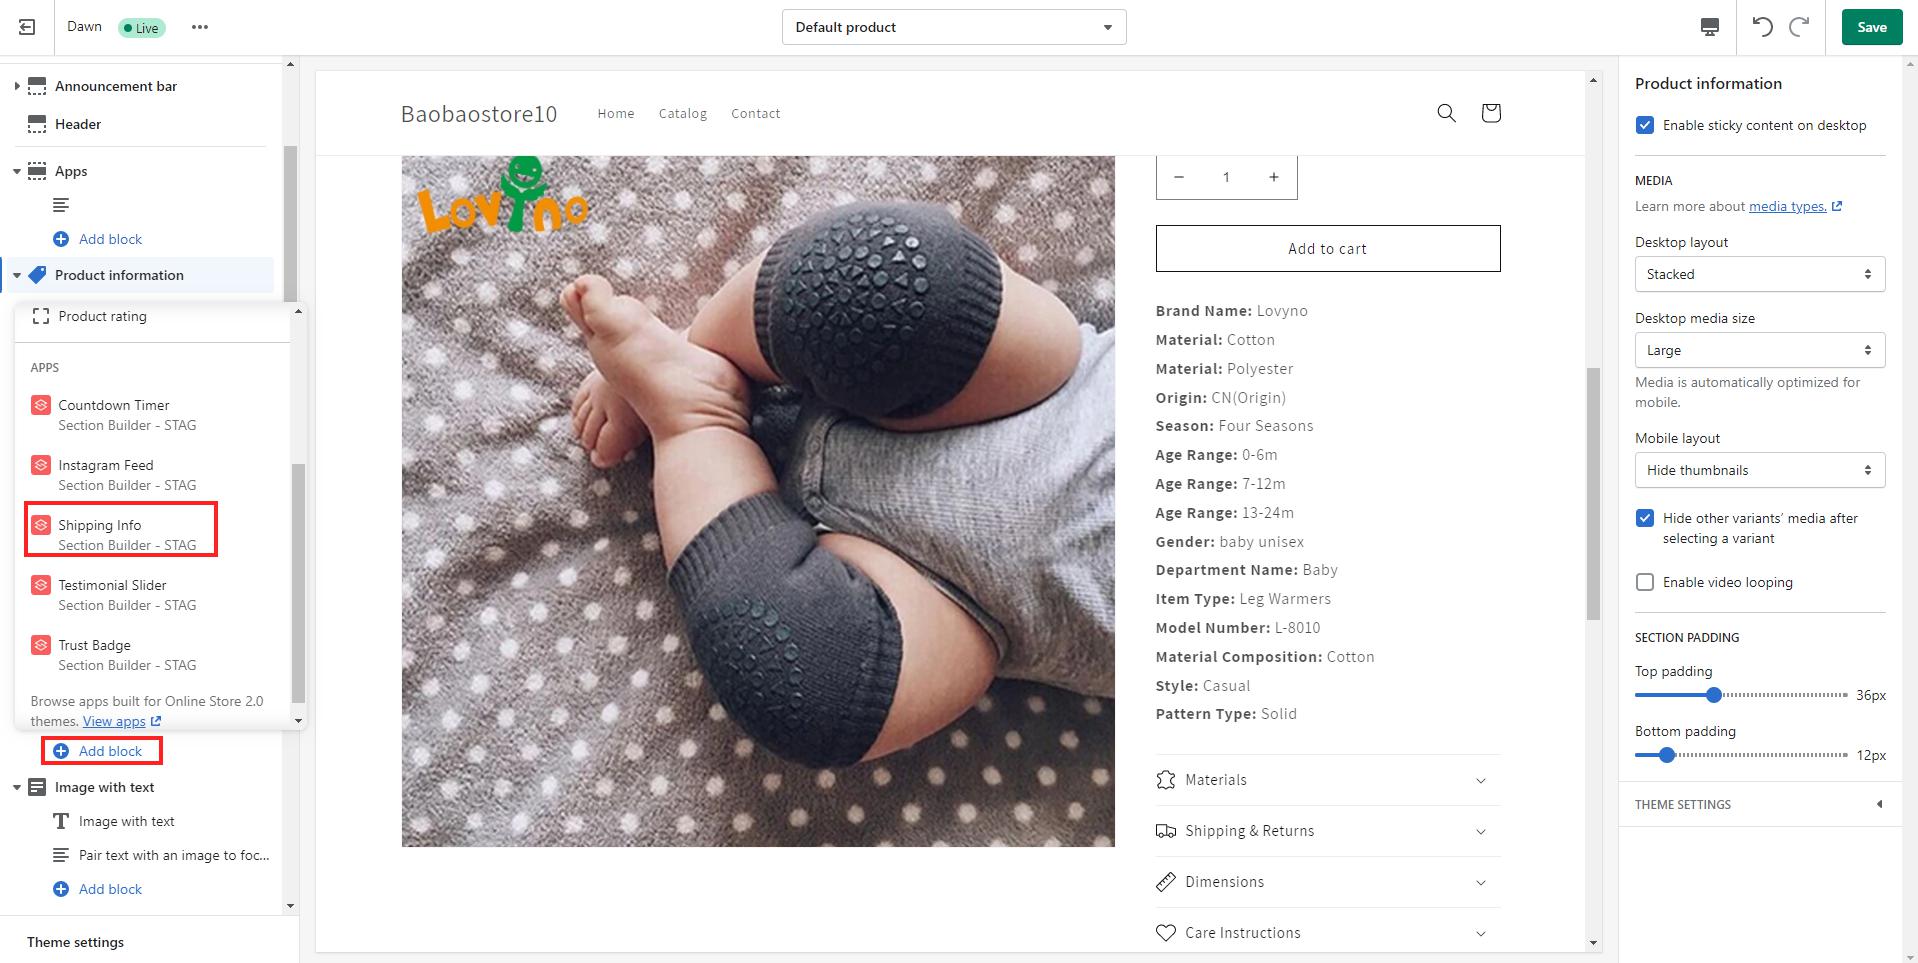
Step 4: Navigate to ‘product information’ on your product default > scroll down and click at ‘add block’
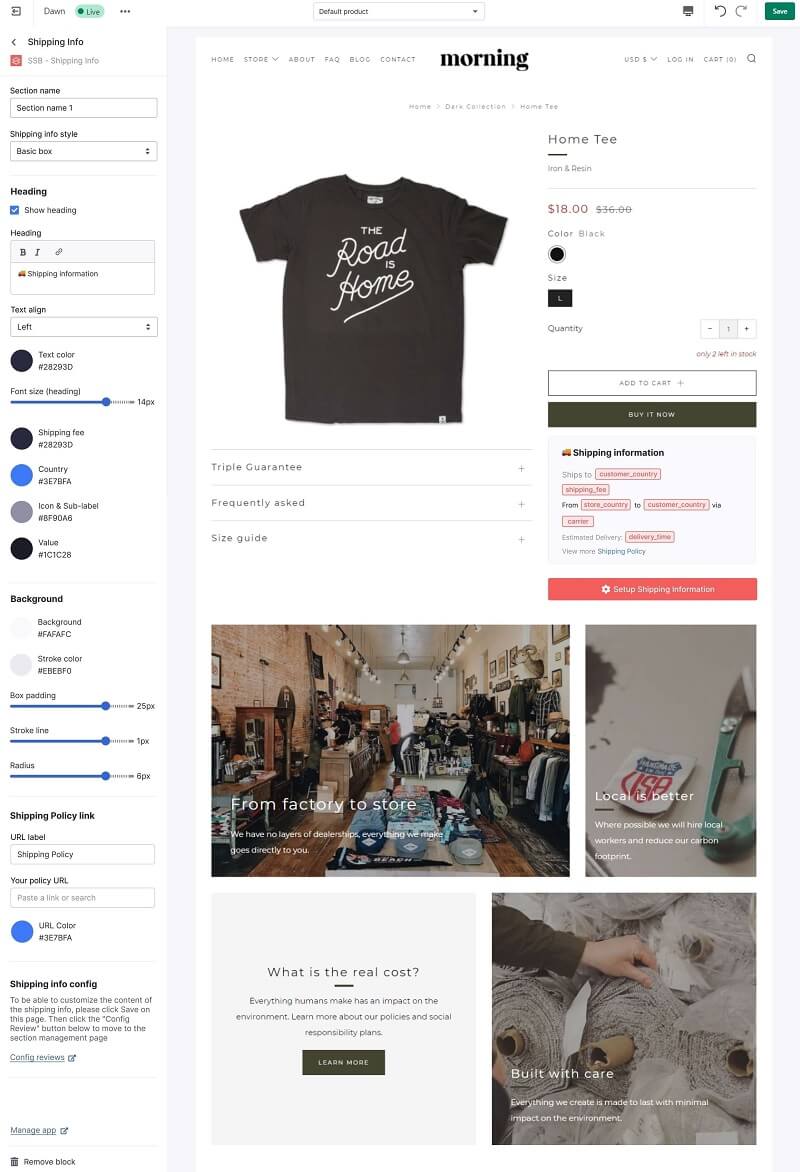
Step 5: Configure your shipping info section as much as you want
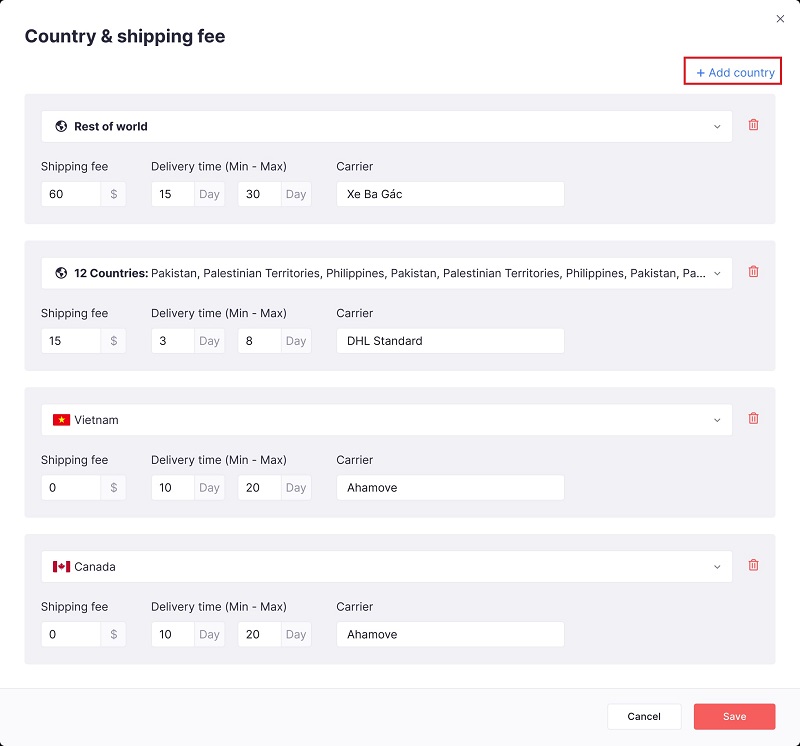
Step 6: Click on ‘Setup Shipping information’ > Click ‘add country’ and fill in shipping details for the territories you support shipping your products to
Now if a visitor lands on your product pages and you support shipping to their country, our shipping info section will automatically adjust to the shipping details set for that country.
For instance:
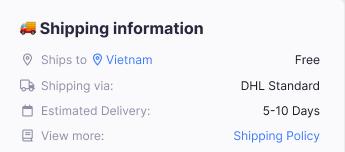
- When a buyer is in Vietnam, here’s the shipping section displayed to them:
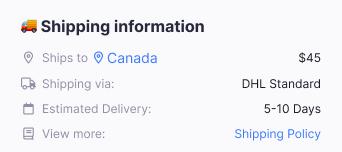
- When a buyer is from Canada, here’s the shipping section displayed to them:
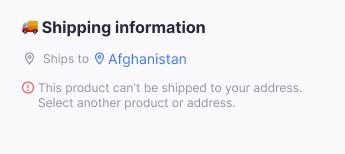
- When a buyer is from Afghanistan (where you don’t support shipping), here’s the shipping section displayed to them:
Step 7: Drag and drop your block to the desired position then click save and you’re done!
-
To hide your section
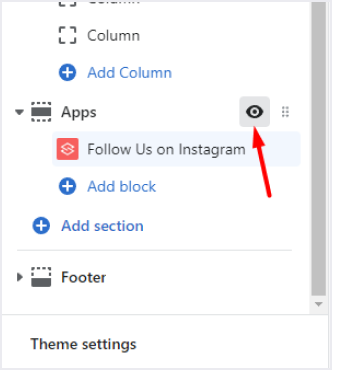
Navigate to your app block > Click at the view icon to hide your section
-
To reposition your section
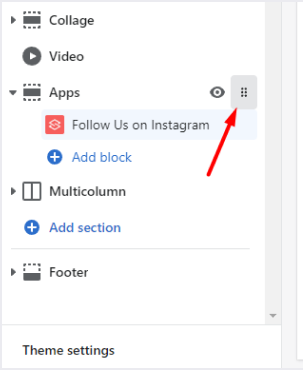
Navigate to your app block > Click at the kebab icon to drag your section to another position
-
To remove your section
Navigate to your app block > Click at ‘Remove block‘
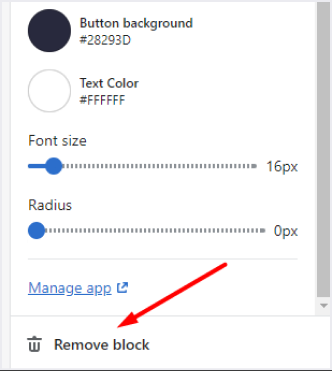
After you choose to remove the section, the code associated with it will be automatically removed.
Add a shipping info section right in-app
Step 1: Log in to your OneSection account > Click on ‘Section Template’ > Navigate to ‘Shipping info’ and click ‘Create section’
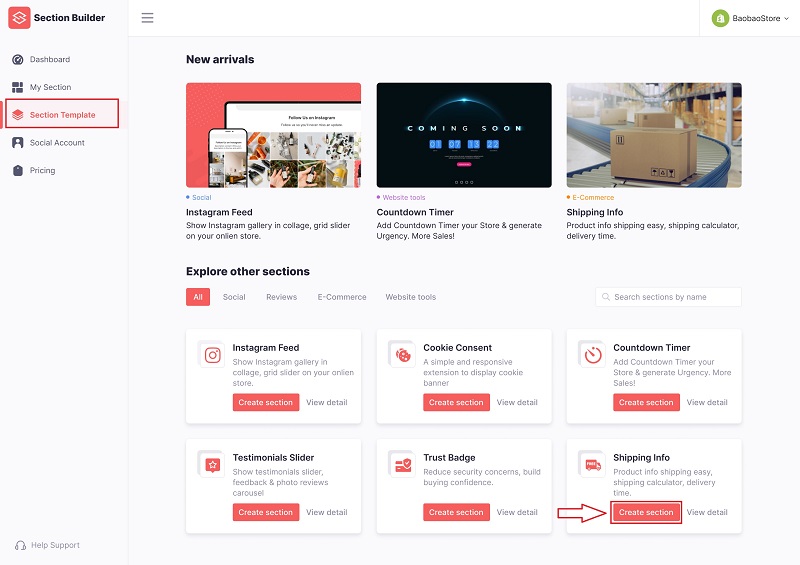
Step 2: Name your shipping info section & decide on its position
Step 3: Choose your preferred shipping info template
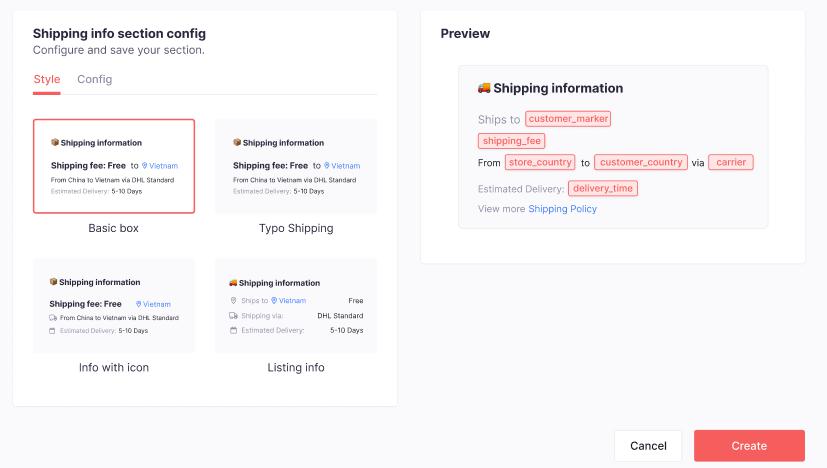
Step 4: Configure your shipping information settings
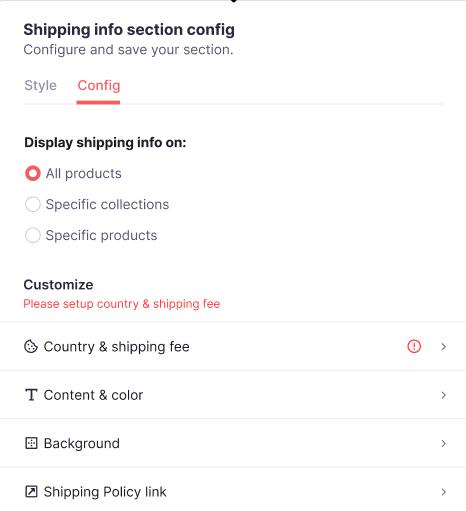
Step 5: Click ‘Create’ and you’re all done!
Copyright @ OneCommerce.io

